
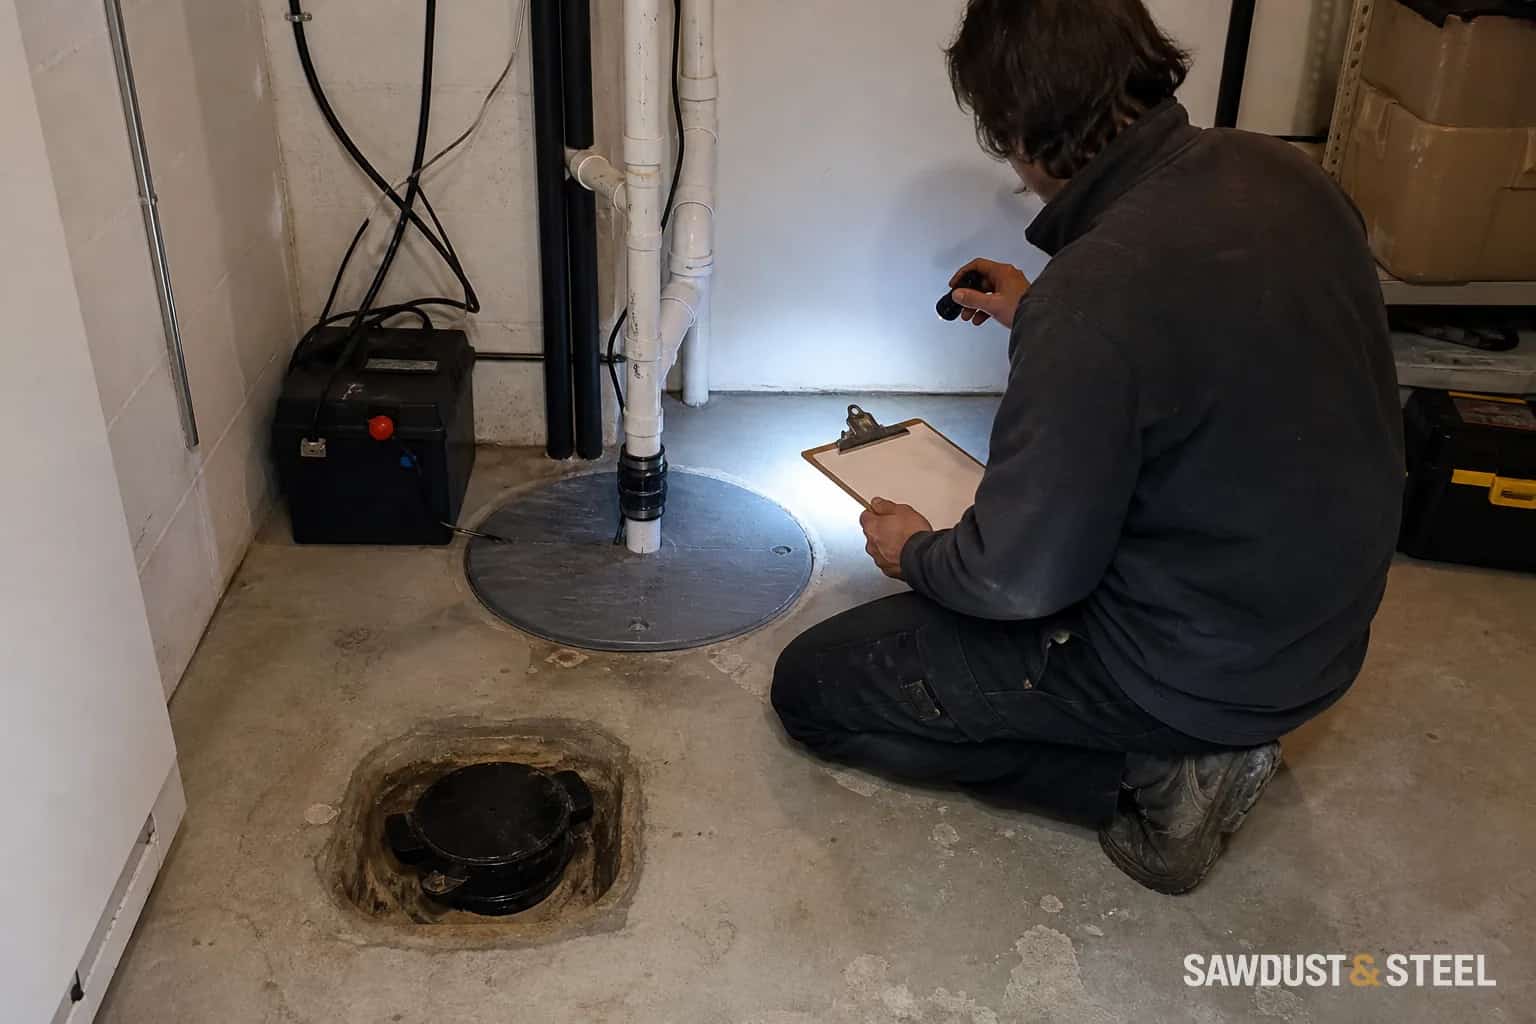
A basement we measured on a dry Tuesday looked ready for framing. After the next heavy rain, the owner sent a photograph of a dark strip along the floor edge. We held the materials order and went back to trace the water; the clean-looking wall had only told us what it did in dry weather. Keep dated photos of the wet area and the outside drainage conditions, then have the cause assessed. Resolve the source and verify the repair before insulation, flooring and drywall hide the evidence. Being ready to choose paint is not quite the same as being ready to finish a basement.
Look for the cause, not just the wet spot
Natural Resources Canada's basement retrofit guide says leaks, dampness, efflorescence, blistering paint, and mould should be corrected before interior insulation. It also notes that interior finishes can hide developing moisture. Start outside with eavestroughs, downspouts, grading, window wells, and obvious foundation defects, then inspect plumbing, the slab, sump system, and walls inside.
- Map staining, white mineral deposits, musty odours, peeling coatings, cracks, and damp floor edges.
- Check during or just after rain. A dry-weather visit may miss intermittent leaks.
- Treat an active or changing crack as a structural question before calling it a waterproofing detail.
- Test the sump, alarms, discharge route, and backup plan where a sump is part of the system.
Interior and exterior work solve different problems
Exterior excavation can address water at the outside face of the foundation and may include membrane, drainage, insulation, and grading work. Interior drainage can collect and direct water that reaches the inside perimeter. Crack repair, sump work, plumbing backflow protection, window-well drainage, and humidity control each have narrower jobs. The right assembly depends on where water enters and where it can safely go.
The finish-safe order
- Document conditions through meaningful weather.
- Correct roof drainage, grading, plumbing, foundation, and sump problems that apply.
- Obtain required permits and any subsidy pre-approval before work, then complete inspections at the required construction stages.
- Let repaired assemblies dry and verify performance.
- Design insulation, framing, services, and flooring around the moisture strategy.
Toronto also recommends grading away from the foundation in its current basement flood prevention guidance. If the pump is cycling rapidly or the well is holding water, diagnose the sump pattern or window-well path before the wall closes. If drainage upgrades are part of the plan, check our GTA basement flooding subsidy guide before signing. If the space will become habitable, settle the basement permit, insulation assembly, and radon test before the walls close.
A damp patch can leave useful clues before demolition. Follow the checks for water stains at a carpet edge, then plan basement storage that keeps cardboard away from damp surfaces.